A low power homelab server build
For my personal usage, I've been looking for a main homelab server with a low power consumption (almost) without any compromise. By main, one should understand where most of the services run, as opposed to a storage dedicated server.
The build presented in this article is in production for around 6 months now and has been drawing an average 33W in a 24/7 setup, which, given the specs and the usage, is pretty satisfying. Note that this figure is obtained without any particular tweak (yet) to lower the power consumption and therefore, I am sure it is possible to reach a sub 30W easily, and probably near 20W average.
Requirements
First, here are my requirements:
- At least one SFP+ for a 10GbE connection,
- A rackmount case, preferably 2U,
- As silent as possible because it will be located in my office,
- As low power as possible.
The difficulty with building a low power server is that the information about the idle power consumption or the PSU's power efficiency are rarely available. In addition, the effective consumption of each component may vary depending on the build, i.e. the other components.
To select the components, I used the following database with low power builds. The power draw of these builds are measured at the wall and therefore gives a good idea of the entire system draw rather than individual components.

Components
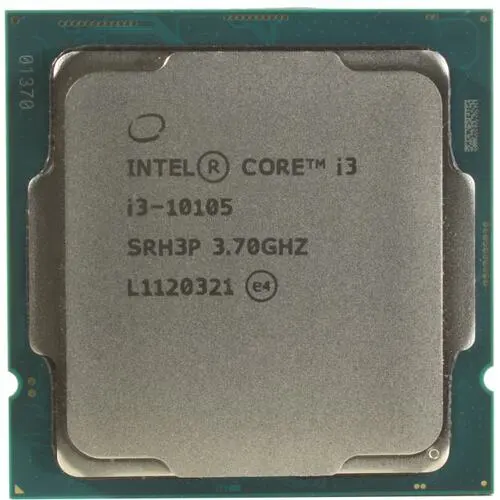
The CPU I selected is the Intel Core i3-10105 because the benchmark for its non-graphic version provides an average power consumption of 8.60W which represents a good comprise performance/power. The database above even reports a build at 5.4W in C8 state!

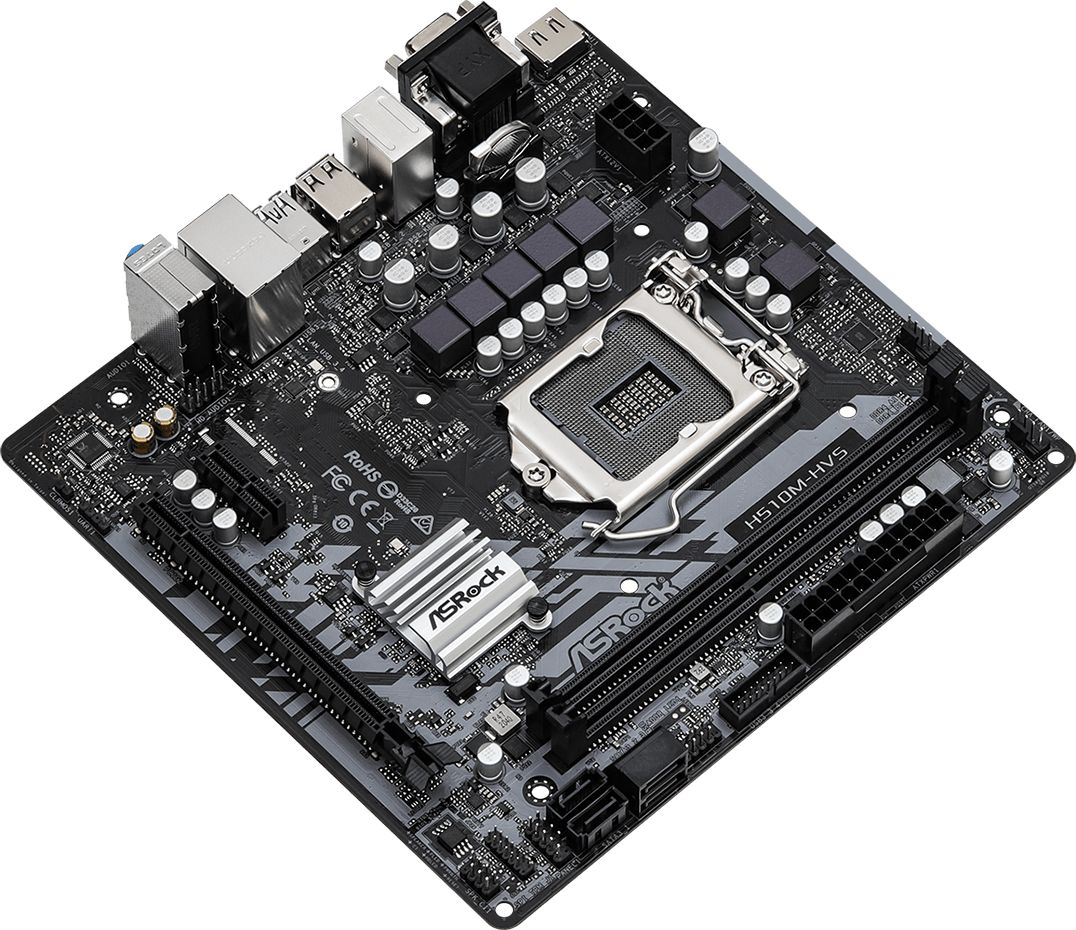
The motherboard I selected is the ASRock H510M-HVS R2.0. The main reason is because it has 2x PCIe 3.0 slots (one full size x16, and one x1) and 4 SATA ports. The PCIe 3.0 x16 will be used for the network card while the additional x1 could be use for future upgrade (e.g. cold storage with a SATA controller card).
In terms of storage, the purpose of this build is to be a service node rather than a storage node. For this reason, I decided to use 3 SSD with a relatively small capacity: one for for the installation of the hypervisor, and two additional in RAID 1 for the containers and VMs. I had a spare (very old) 128GB SSD that I used as boot device and two Western Digital Red SA500 500Gb. Without this spare SSD, I would probably go for a third WD SA500 500Gb for practicity. Of course, if you don't plan to use another node for storage or don't have a NAS, you might want to take larger SSDs.
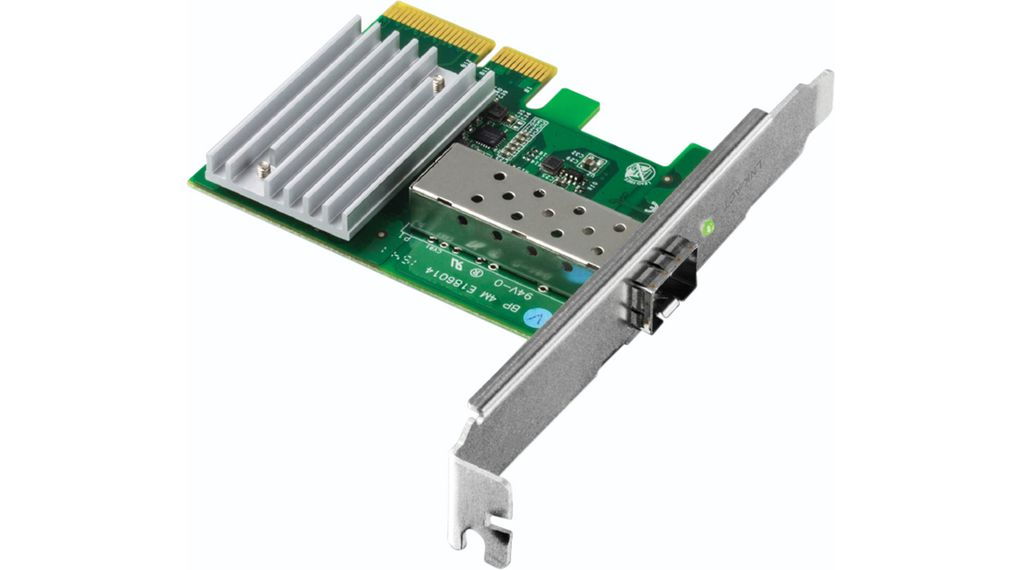
As network card, I selected the TEG-10GECSFP (Version v2.0R) because it has the lowest maximal power consumption that I could find at 1.5W. I have no way to check this assertion accurately, however, given the fact that it is based on Aquantia NIC, my assumption is that 1.5W can be true only with a Directly Attached Cable (DAC) and not a Fiber Transceiver.
In case you are not interested in a 10GbE connection, you might still want to a NIC in the PCIe x16 slot, either to have a 2.5GbE which is now pretty common or some additional ethernet ports.
Depending on how many ports has the NIC, you could turn the server into a switch or at least have a dedicated management network.
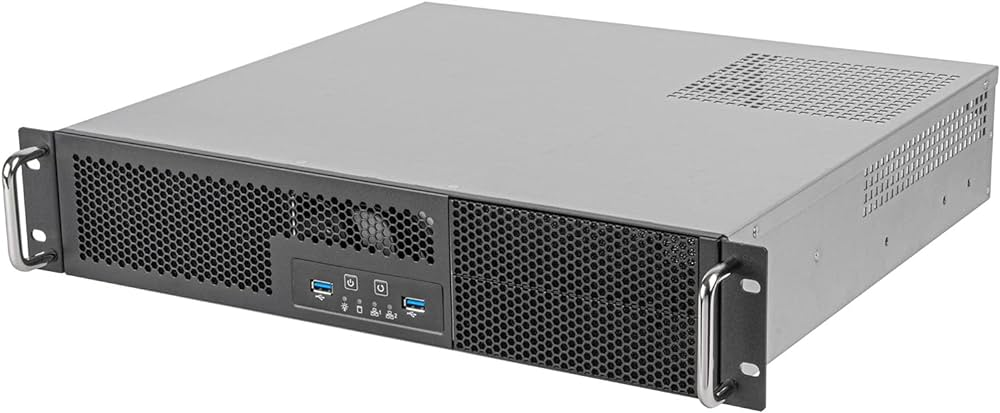
The case I selected is the SilverStone SST-RM23-502-MINI which offers several interesting features:
- several PSU compatibilities, so depending on your budget and needs, you can go from a standard ATX to a 2U redundant.
- two 5.25" bays to expand the server in the future, for instance with a SATA case.
- a 40cm short depth compared to standard rack.
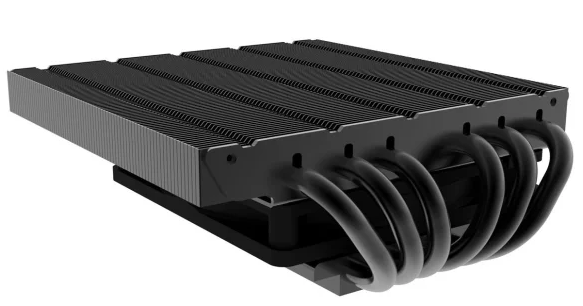
The 2U rackmount case is the biggest constraint because it implies a low-profile CPU fan. For the CPU fan my choice goes to the Alpenfohn Black Ridge Low Profile because the reviews seem to agree on the fact that it provides the lowest temperature among the most popular low-profile CPU coolers in early 2023.
However, there a two important things to notice with this CPU fan:
- the stock fan should be reversed as it blows in the wrong direction for most efficient setting. Contrarily to the reviews I read all over the internet, the stock fan of the Black Ridge is extremely silent such that I did not have to exchange it.
- because of the dimensions, only Very Low Profile (VLP) RAM can be used and a fan above will not fit due to the case height.
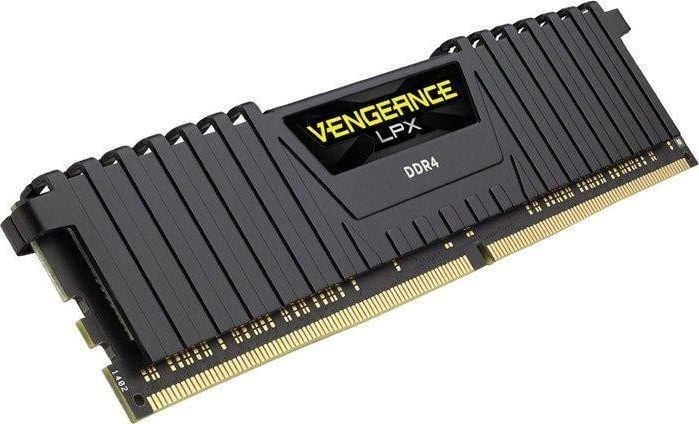
In fact, the constraint of the VLP drastically restrict the landascape of compatible RAM sticks. I went for 2x32GB of Corsair Vengeance LPX (CMK64GX4M2A2666C16) which have the following timings: 16-18-18-35 (CL-tRCD-tRP-tRAS).
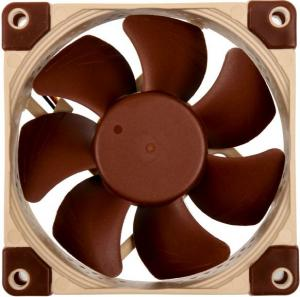
In terms of additional fans, as the case supports 2 standards 80mm x 25mm fans, I went for the classic and silent Noctua NF-A8 PWM.
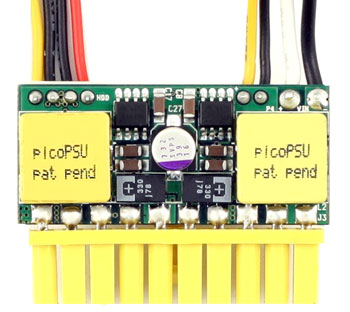
Now that we have all our components, we can select the PSU accordingly the the peak power consumption. Because we want a server as silent as possible, a natural choice is a PicoPSU. With only 3 SSD, this build can use a 90W PicoPSU. However, if you plan to use a SATA cage with the remaining PCIe slot, I recommend to use a 160W PicoPSU.
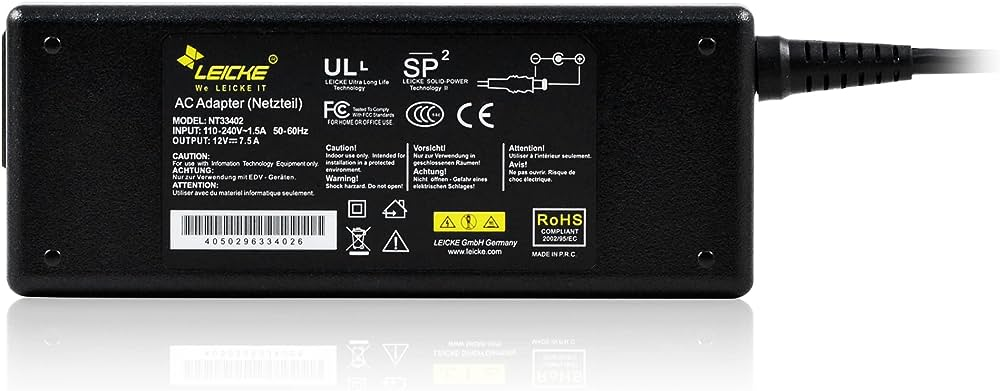
The PicoPSU needs to be coupled with a power supply. For this build, I recommend a Leicke but the choice is rather wide and the important thing is to check the power to match the PicoPSU.
To be practical, note that the case supports only one 2.5" SSD and therefore, using a SSD mounting frame that can be mounted in a 5.25" bay such as the Sharkoon BayExtension.
Summary and cost
Here is a summary of the components with the approximate price as of September 2023. The final build is around 850€, accounting for delivery costs and additional costs such as thermal paste, etc.
| Model | Quantity | Price | Total Price | |
|---|---|---|---|---|
| Motherboard | ASRock H510M-HVS R2.0 | 1 | 60€ | |
| CPU | Intel Core i3-10105 | 1 | 100€ | |
| Storage | Western Digital Red SA500 500Gb | 3 | 30€ | 90€ |
| Case | SilverStone SST-RM23-502-MINI | 1 | 194€ | |
| RAM | Corsair Vengeance LPX (CMK64GX4M2A2666C16) | 1 | 124€ | |
| 10GbE NIC | TEG-10GECSFP (Version v2.0R) | 1 | 111€ | |
| CPU Cooler | Alpenfohn Black Ridge Low Profile | 1 | 45€ | |
| PicoPSU | 90W PicoPSU | 1 | 32€ | |
| Power Supply | Leicke Power Supply | 1 | 30€ | |
| Fans | Noctua NF-A8 PWM | 2 | 20 | 40€ |
| SSD Mounting Frame | Sharkoon BayExtension | 1 | 6€ | |
| Total | 832€ |
The build in practice
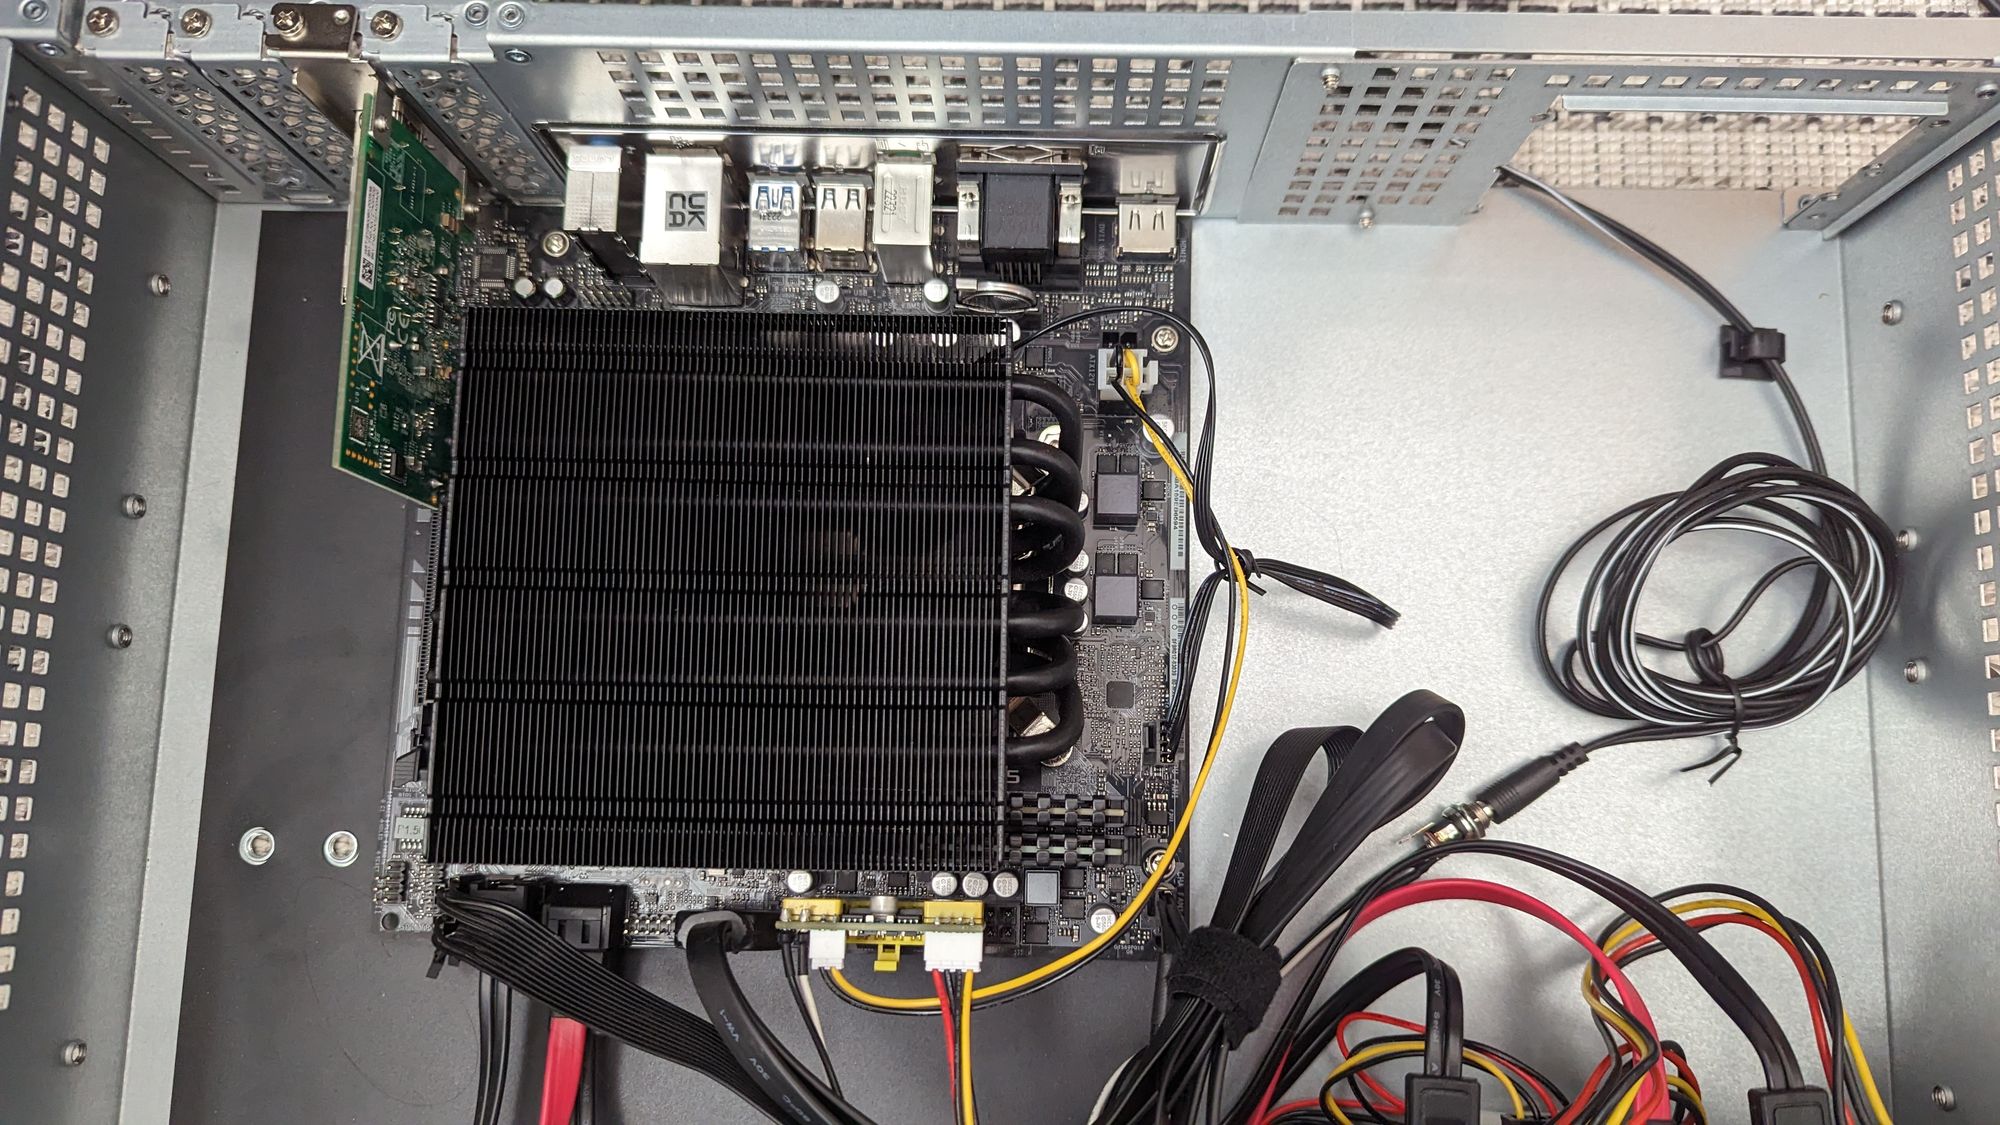
The build is pretty simple to setup. The fact that we use a PicoPSU and microATX leaves a lot of space in the case for a good airflow. In particular, I appreciate this case because the additional fans are not obstructed by anything and the storage is really separated from the motherboard.
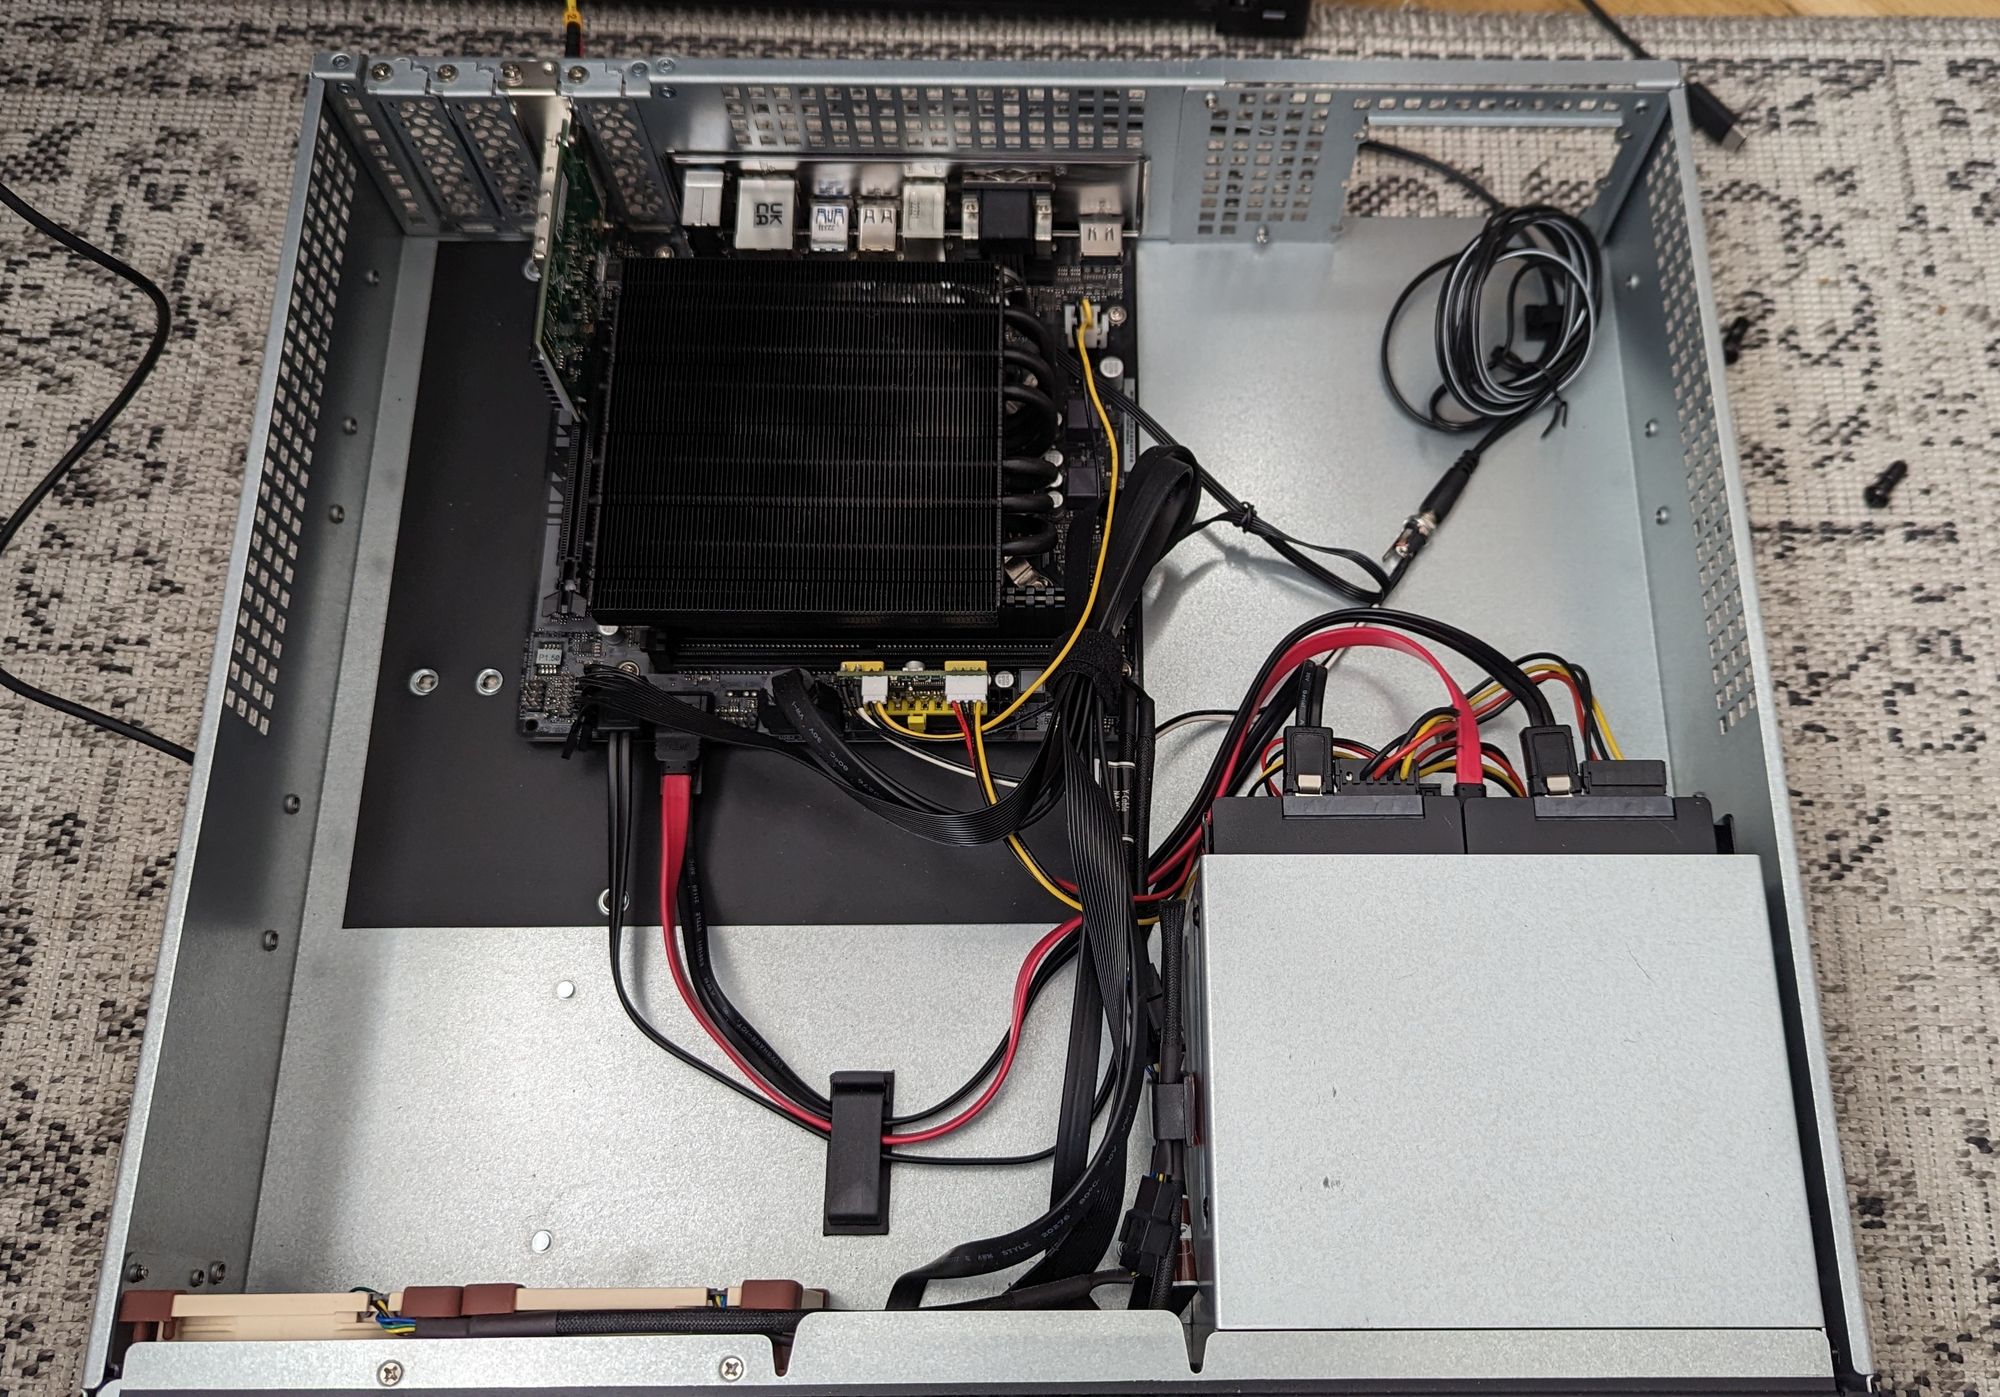
As I did not think about ordering a PCI power bracket with a barrel jack, I used some cable management clips. For an easier maintenance, I use a different color of SATA cable for the storage drives (black) and the OS drive (red). Ideally, a sticker with a proper number would be better, but with only 3 drives, the risk of confusion is low.
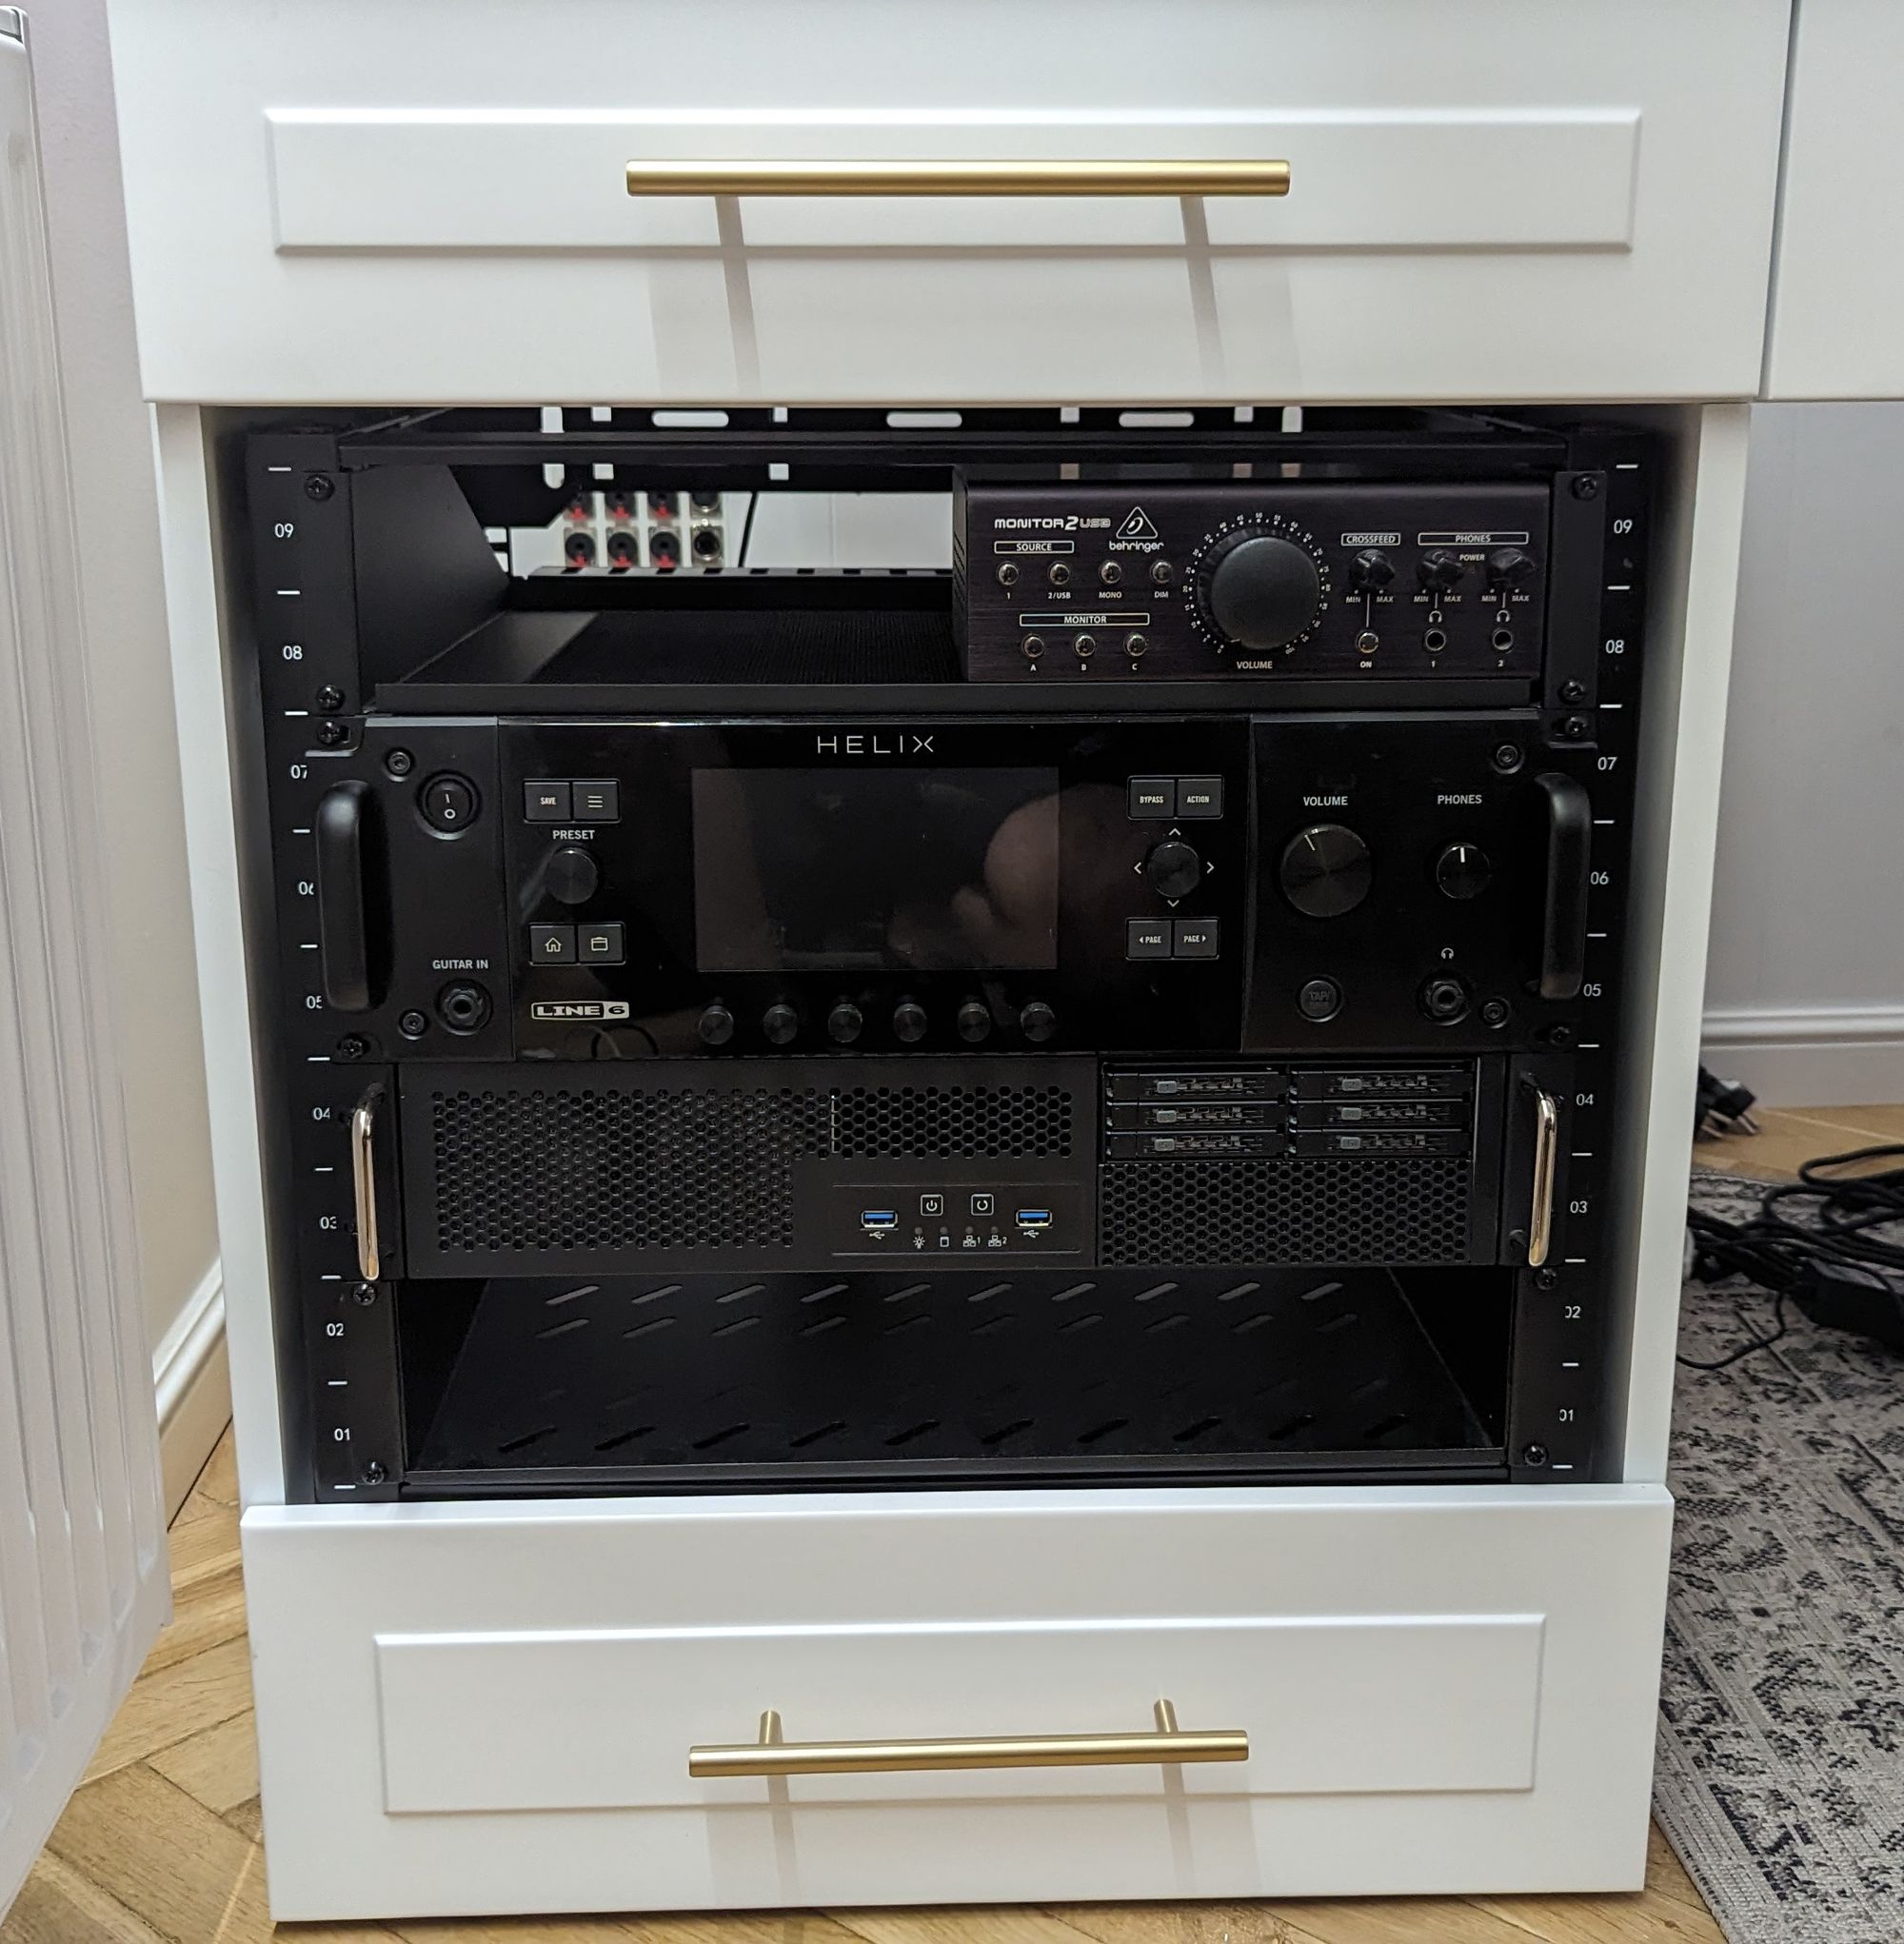
I installed the server into the 9U rack that is directly inserted in the desk of my office. The server has its independent socket with a smart plug for power consumption measurement. The 1GbE RJ45 is used for for the management network while the 10GbE SFP+ is used for everything else. Unfortunately, I could not use a DAC since the server is roughly 15 linear meters from the router which is the limit before signal degradation.
I have no tool to measure the noise but I am extremely impressed by how silent it is. Basically, the laptop on which I work on a daily basis is louder. The server is right next to me the whole day, every single day, and yet, I have never heard it. This is even surprising because many people recommend to avoid 2U for silent builds. My assumption is that the key is the PicoPSU for two reasons:
- it takes little space which leaves a huge opening behind the case such that the airflow is really maximized,
- the PicoPSU itself does not make any noise and does not heat up which in return lower the need for the fans to spin as fast as they might need to in a build with an ATX PSU.
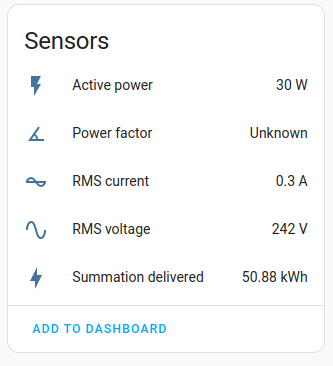
Finally, here is a summary of the sensors from the smart plug that I use to measure the power consumption. It is not as rigorous as a Kill A Watt but it already give a good idea. The active power oscillates between 26W and 35W depending on the load.
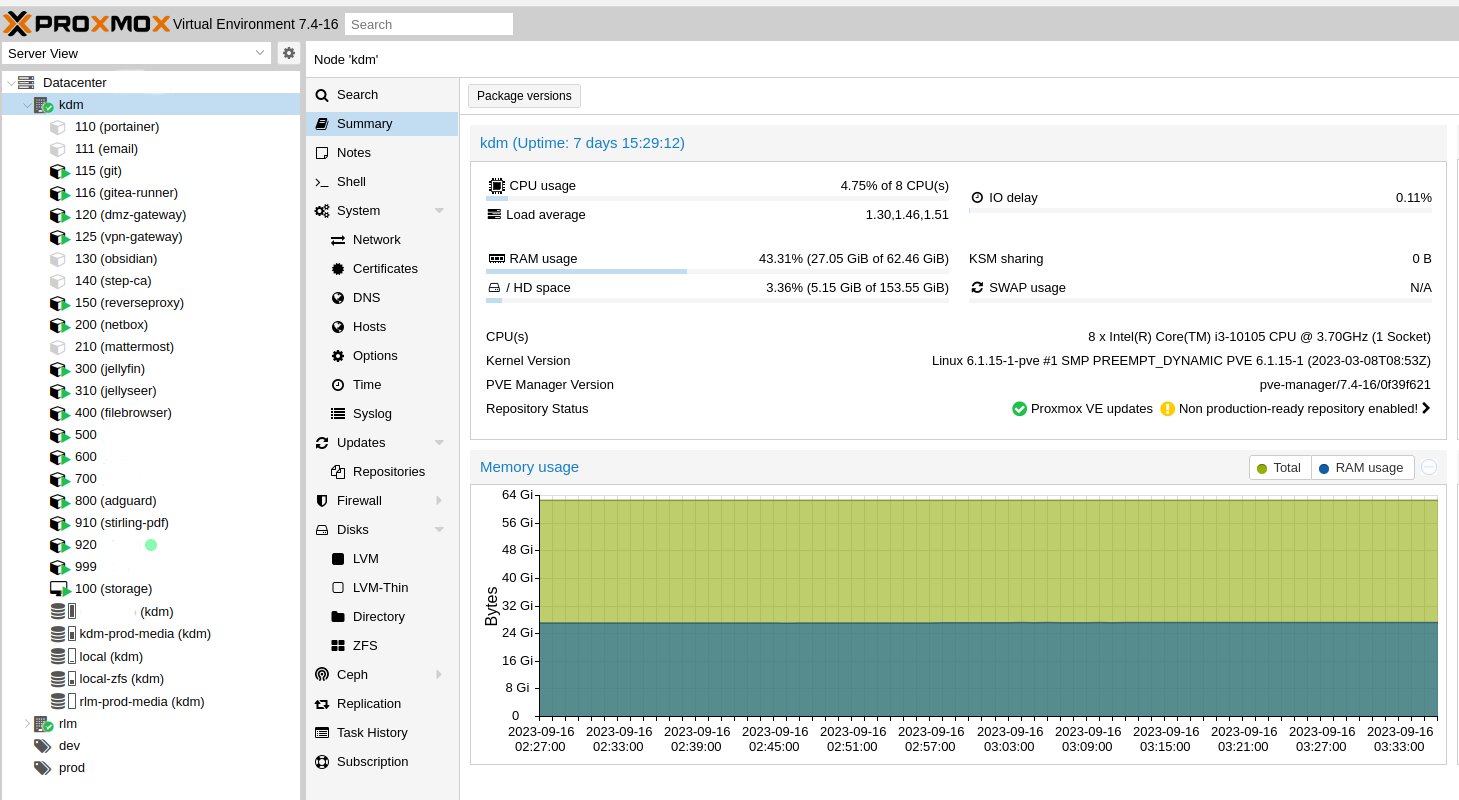
The server is running on Proxmox and as shown on the screenshot below, it runs many services for such a low energy consumption and noise.
In conclusion, I am extremely satisfied with this build. It is not as low power as some of the ones in the spreadsheet attached at the beginning of the article, but it offers (relatively) modern hardware with a ton of capabilities, both for playing around and productionizing. In comparison to this database, I am using an active SFP+ connection which add some watts which is the price to pay for a 10GbE connection.
Despite being actively cooled, it is as silent as most passive builds which is a big plus for many homelabers, including me!
In summary, I could not recommend enough this build, although the pricepoint might be a bit high for some people. However, the case and the 10GbE NIC account for about 37% of the total cost, so if you don't need a 10GbE and can find an alternative case - maybe not even rack-mounted -, it might be possible to squeeze the budget to a mere 600€. In my opinion, both options are a bang for the buck!
Member discussion